What you need old magazines, string, tap and scissors,( glitter and glue are optional). I also put down some wax paper to protect the table.
Cut out lots and lots of colorful hearts. All different sizes.
If you want to add glitter then place glue where you would like the glitter. See Gillian's example here. *NOTE* (Gillian cut out this beautiful heart all by herself!!!!) insert Proud Momma Smile here! =)
GLITTER!!!!! Shaka Shaka Shakaaaa is what we sang while adding lots of glitter!
Almost time to buy more glitter! ;)
Oooh Lovely glitter hearts!
What's next Gillian?
Next cut a large piece of string might help to measure the window you would like to hang it in first.
Tap string in the center of the heart. Space hearts as desired I added about 6 hearts per string.
I made some super yummy food on Sunday for the Big Game! I also thought I would give my Family a little break from being in front of the camera. So I documented my cooking for the day!
First up:
Jarlsberg Cheese Dip
Here I used Mayo but I prefer Olive Oil Mayo its healthier and I think taste better but this is what I had so went with it.
Shred Cheese about a cups worth.
Chop half onion
Chop scallions
Mix scallions, onion into the shredded cheese.
Mix in about 1/4 cup Mayo. Just enough to cover cheese. And you're finished. Serve with crackers and enjoy! It was gabbled up almost as soon as I made it so this was the best finished photo.
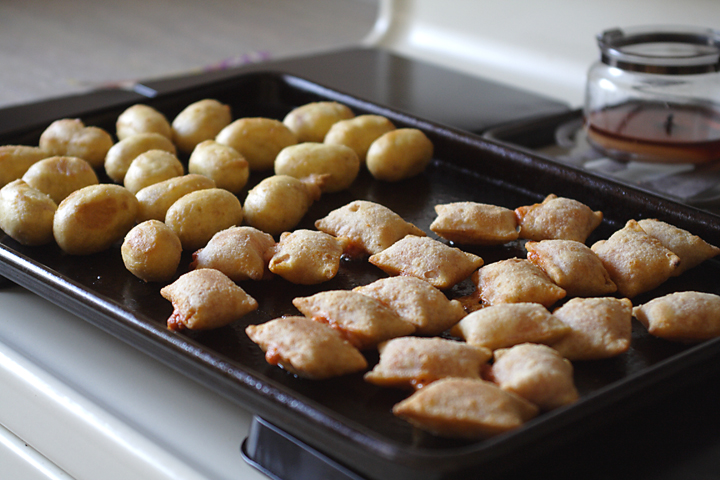
OK so these are super easy! Made them for the kidos. Mini corn dogs and pizza bits. I just threw them in the oven per directions.
Little Smokey's
Made a double batch. One with super HOT BBQ sauce and the other with a regular BBQ Sauce. In other words one batch for Ryan and the other for the rest of the Family.
Again super easy added BBQ Sauce over the Smokies put in a sauce pan and heated them up.
Jalapeno Poppers
You need Jalapeno's, Cream Cheese and Bacon.
Jalapeno-Green and Yellow
Cut and remove seeds. I usually leave a few seeds in for some extra heat.
Fill with cream cheese and wrap bacon around each jalapeno. Use a tooth pick to keep in place.
Bake in Oven on 375*F for about 30-35 minutes or until bacon is cooked.
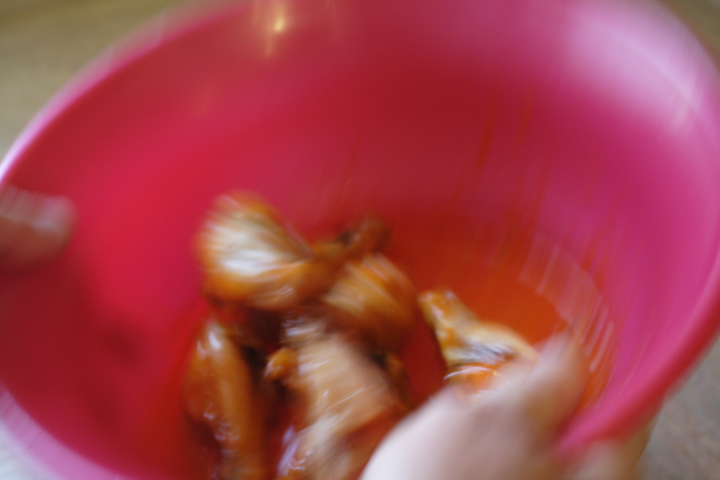
Hot Wings
All you need is Chicken Wings and your favorite Hot Wing Sauce. Bake plan chicken wings completely. This is KEY!!!
Remove Cooked Wings from oven place in a large bowl. Add desired amount of Hot Wing Sauce and toss the bowl until all wings are covered in sauce.
OK so this has been several months since her 1st hair cut and I'm about to trim it up again. I have wanted to blog about this for a while but just haven't. SO playing catch up ONCE again!!! =)
As most of you know Gillian's hair has been V-E-R-Y S-L-O-W growing in! Plus she has these beautiful curls so its taken me 3 year to finally cut her hair!!!
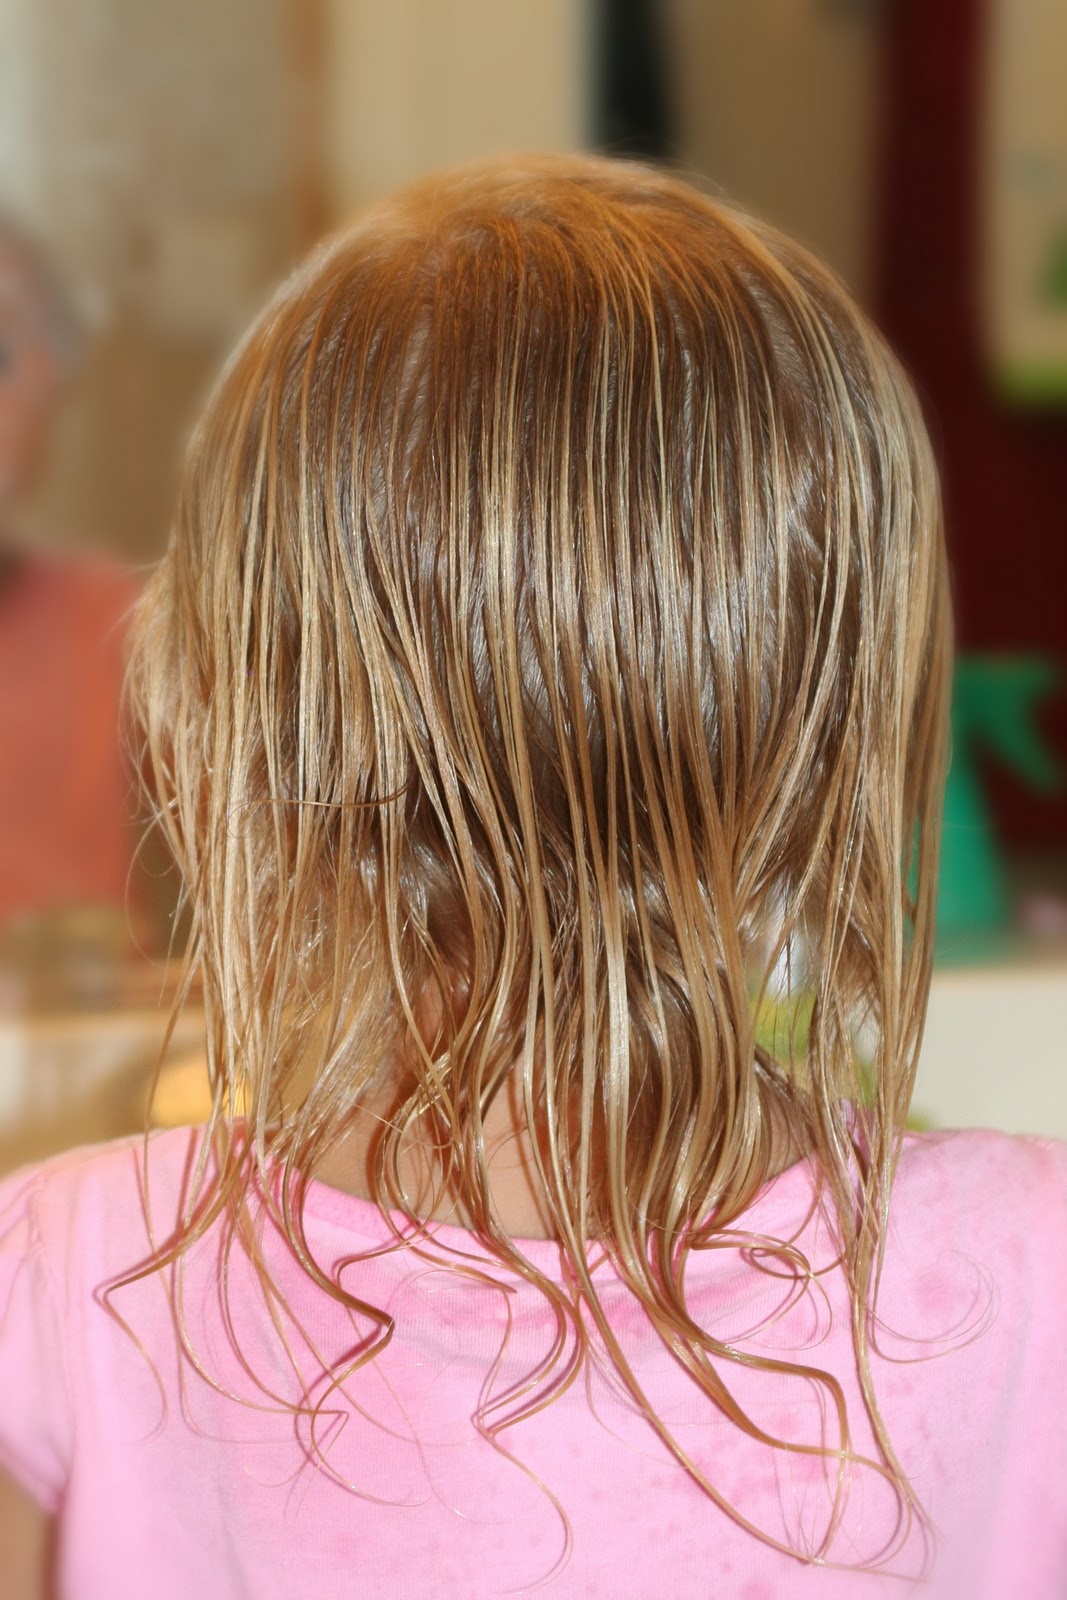
This is how Gillian's hair looks EVERY morning! We refer to it as: Wild Women Hair!
In the morning I have to get it wet spray and spray some more with detangler, then I can style it!
Look how long it was when brushed out!!!
Getting ready for the 1st cut!! **Note I did NOT cut while having the camera in my other hand. This was a "staged" photo! lol
After making the 1st cut Gillian said "YES!!! You did it Mommy!!"
All trimmed up and even! =)
Her hair starting to dry. Curls are coming back!! Yes!
So this Super Bowl commercial is what inspired this blog!!!
Over the last year or so have worked on several projects around the house and yard!
This was one of the first home projects I did. The patio railing outside the master bedroom was rusted, paint chipping and just down right dull.
So I picked up a gallon of Chocolate Brown outdoor paint. It took several coats but I love the end results!!!! In the After picture below you can also see the NEW patio furniture we got too! =)
Our front door!
Just like the patio railing the front screen door was rusted in a few areas and again I was not a fan of the color, I wanted it to stand out a bit. So I painted the door the same Chocolate Brown as the patio. I love it!
Backyard Make over!!
Here is our tree in the backyard. We laid brick around the tree and filled with top soil. (the after in the bottom photo was still in a bit of progress but the brick and dirt was complete.) Next phase planting beautiful flowers! =)
On the East side of our house we had this beautiful tree and had really pretty purple flowers that smelled wonderful. But as you can see it was leaning over. We were afraid that it was going to fall onto our neighbors house. So it was time to take it down. That was quiet the project. After I cut down and removed the HUGE root. I built up a planter! For our vegetable garden! We laid down outdoor fabric and filled with top soil. Then planted lots of yummy veggies! =)
The South West corner of our backyard. We took out these three bushes and built a raised sandbox! (Not in the image all the sand toys and little slide!) =)
Our Office Before & After
Our 4th extra bedroom. The first couple of years this room was our guest room/daycare napping room. As my Photography business has grown I needed/wanted an office to keep things more in order. I was using our kitchen table to work on edits. Which had been nice so I could edit while the family watched TV in the evenings. But it was getting old moving the computer for dinner and I had cords ever where with my external hard drives and printers...... It took a day to clean out and build my new desk, shelf and filing cabinet. =)
Laundry Room!! The floor in the laundry room was bad. The previous owners spilled paint, ripped parts of it up...... We managed to hid most of the holes with rugs and the washer and dryer. One Sunday I decided I had enough and started ripping up the old flooring. We ran to Home Depot picked out the new flooring. Monday morning I finished the project!! Its so nice!!!
Thanks for stopping by and reading my blog!! Have a fabulous day! =)